Renovations are coming along on the Sandringham NSW house. If you missed the sneak peek before we started, you can check it out here.
As a quick refresher, it was originally a 4 bedroom 3.5 bath home with a studio apartment. The pre-renovated value was $3.05 million.
After renovations, it will be a 5 bedroom + study 3.5 bathroom single family home.
Since it’s been awhile since that post and we’ve had a lot of progress, I thought I’d give you a mid-renovation update.
The Bathroom
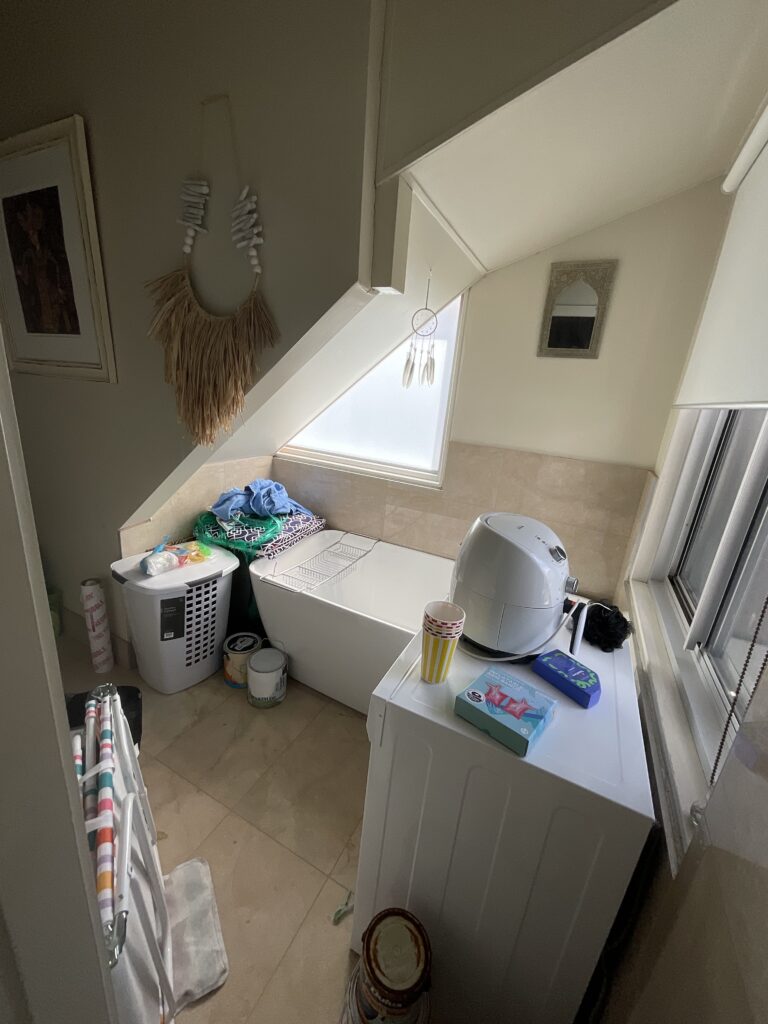
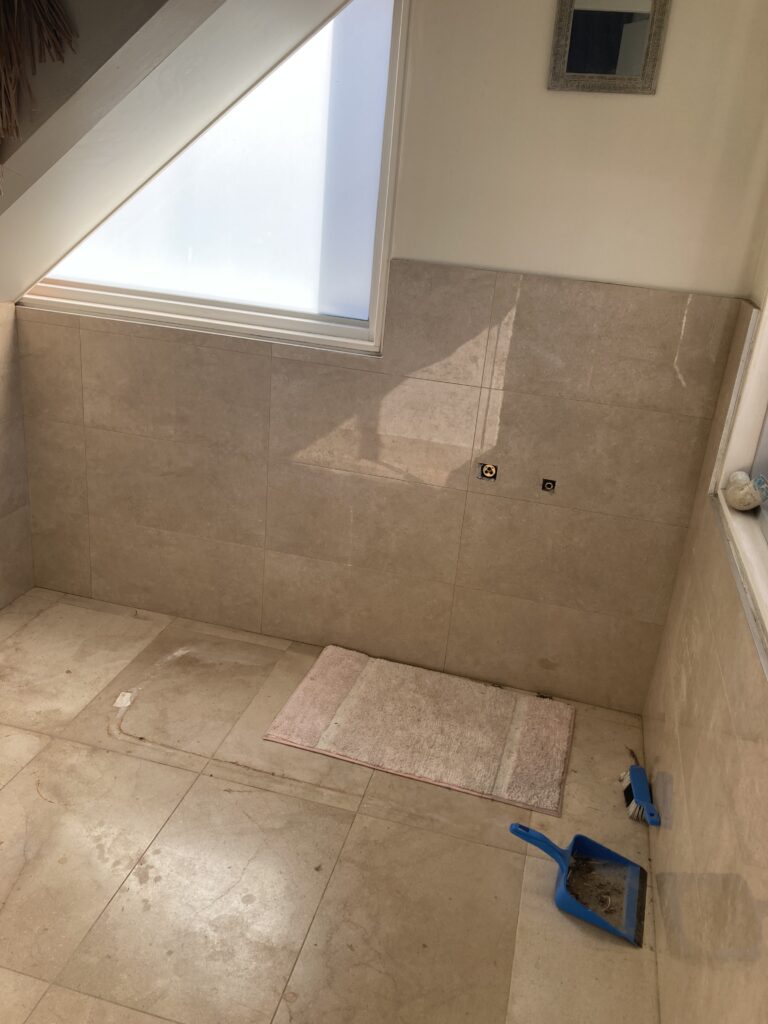
The family bathroom has been our largest project. It needed a full demolition and renovation, plus it’s a VERY large sized room (great for the user but takes the builders a long time!)
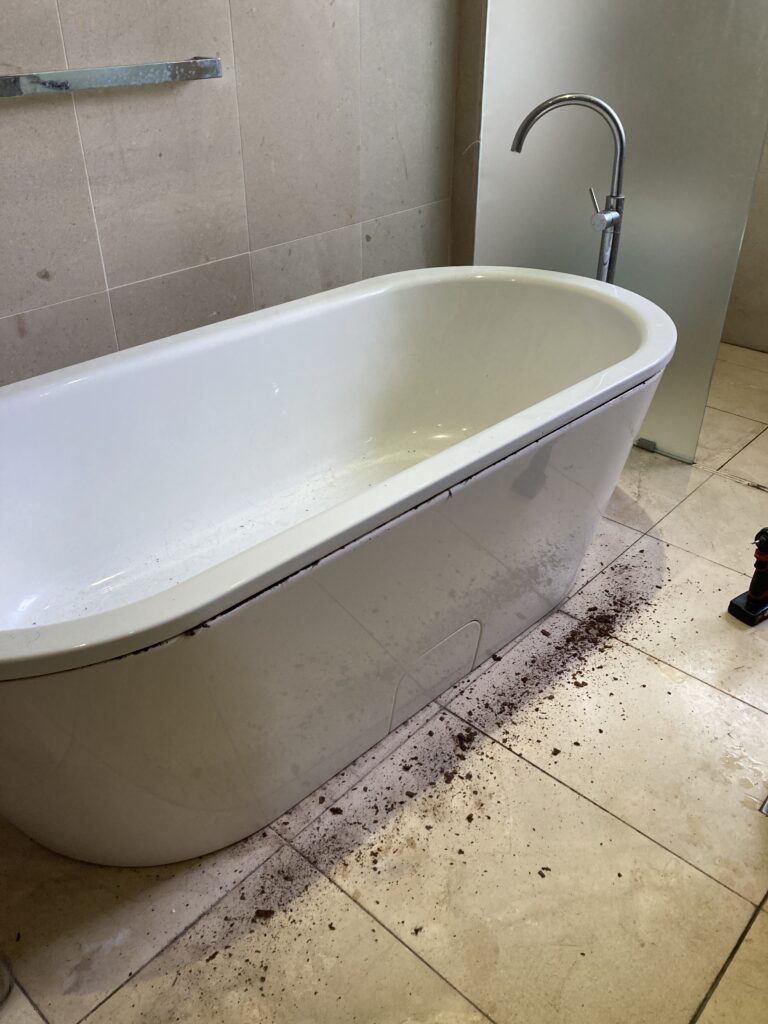
Before:

The demolition took quite awhile. My builder said it normally takes him a day to do a whole bathroom but it took him 2 days. Not only is it a large bathroom, but the old tiles are natural stone, very heavy and everything was attached very well (meaning lots of effort to remove!).
We had wanted to save the bathtub and the vanity. Unfortunately, we discovered the bathtub had quite a bit of rust underneath the lip so it ended up being unusable.
The good news is that we had another bathtub that we planned to remove from the under stairs cupboard. We were planning to sell it but found a new use for it!
As for the vanity, it was attached to the wall so well, there was no way they would be able to remove it without damage. That’s fine, as we had already been discussing and looking at new options.
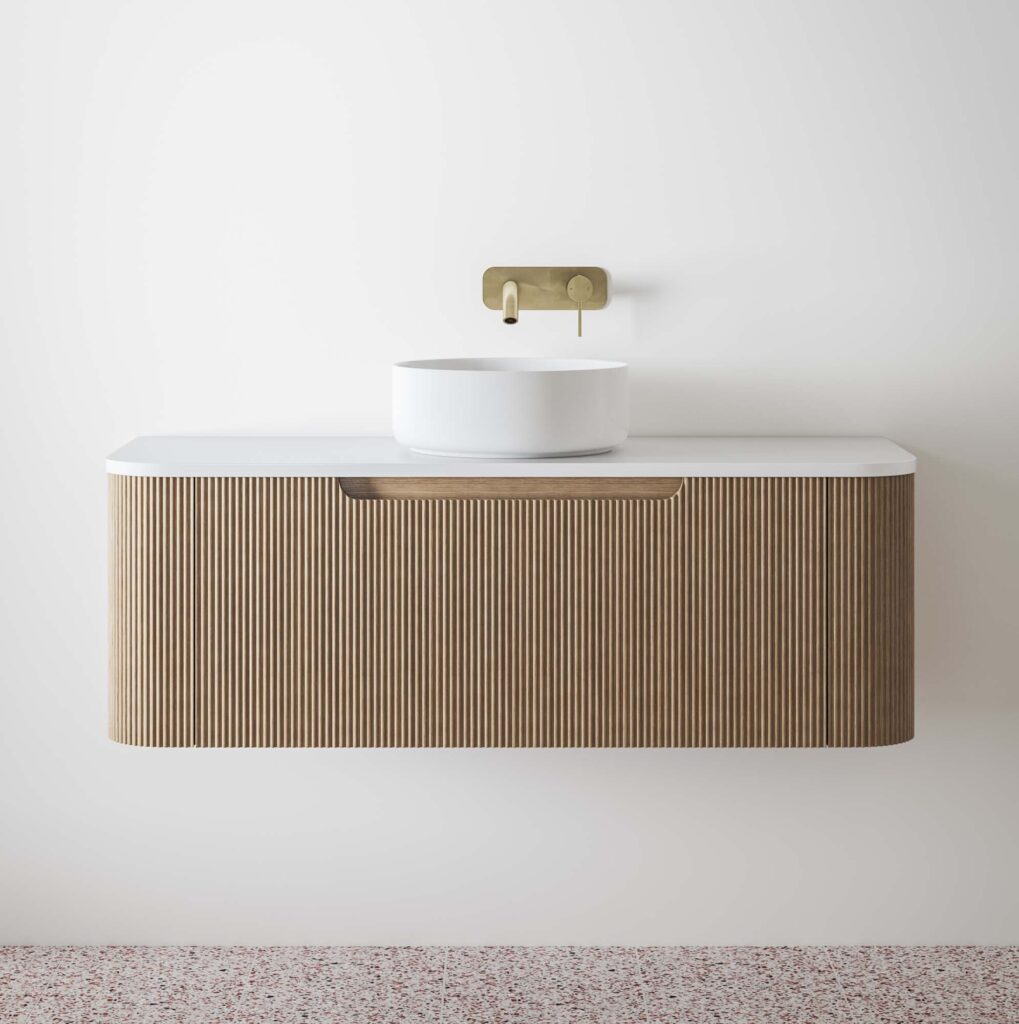
After all the demolition and changes, the builders did the fit out including adding a niche for the bathtub, moving and expanding the niche in the shower, adding in electrical for LED lighting in the bathtub niche, under the vanity, and for the LED vanity mirror.
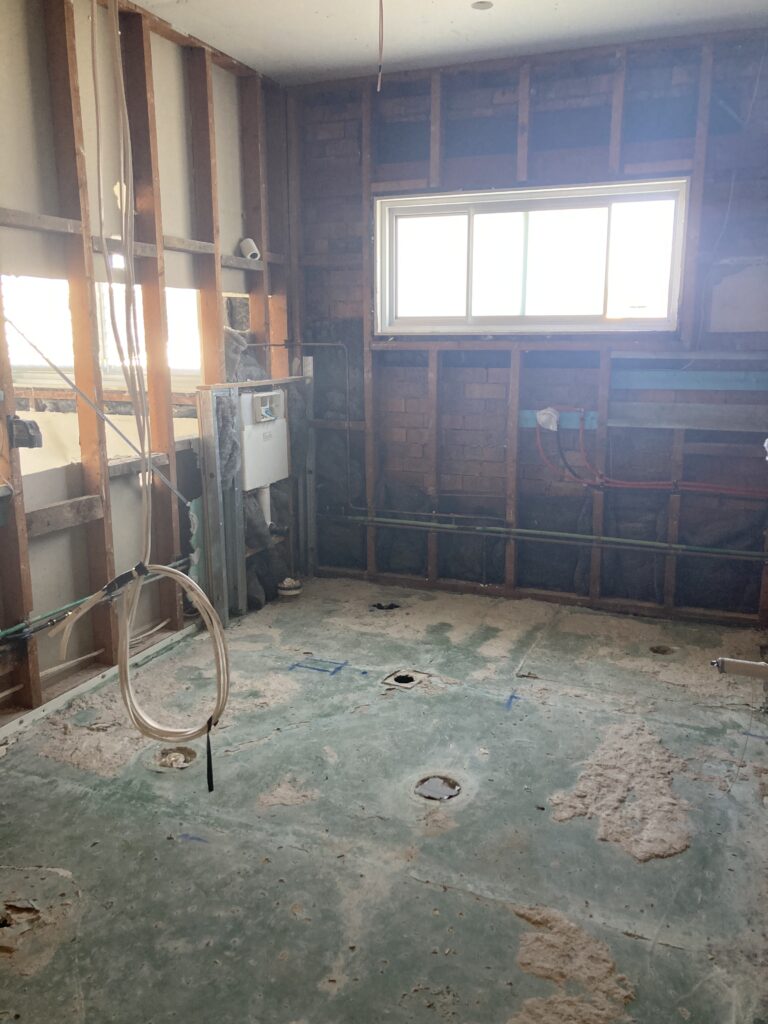
Then this week, things really started moving.
Villa boards went up on Monday and Tuesday, plus our builder installed a nib wall to give some privacy to the toilet.
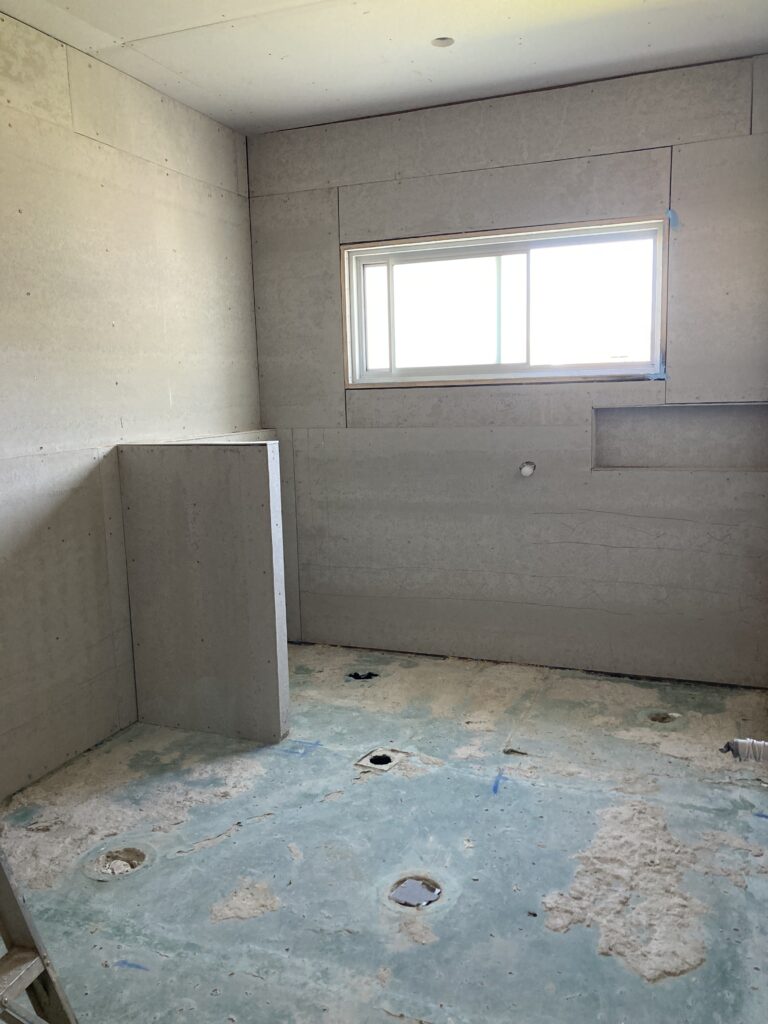
Then, we had the screed applied to the bathroom which will be drying over the 4 day weekend. It took 23 sand bags – normally bathrooms take 10!
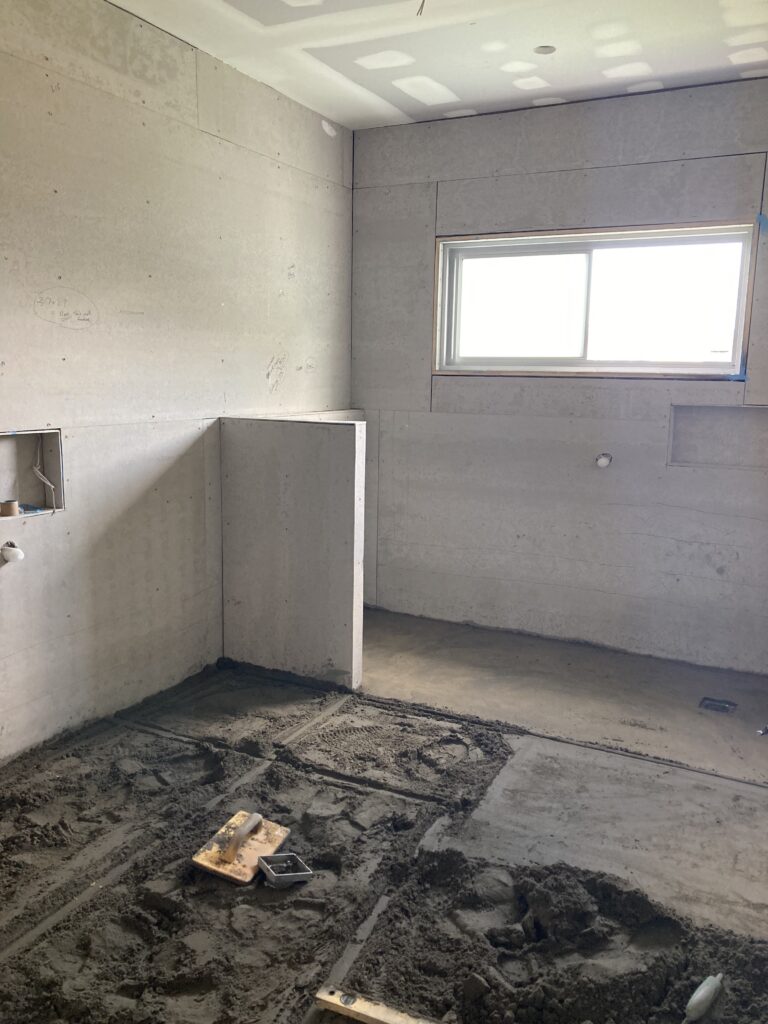
Next week, the bathroom will be waterproofed and tiled.
The 2nd Kitchen to Study to 5th Bedroom transformation
If you saw the sneak peek post, you may remember that the home has a second kitchen.
It wasn’t it great condition so it already needed some updates. However, more importantly, I found through my market research that large family homes are much more in demand in this area.
So the original plan was to turn this space into a study. However, after the space was stripped out we made a large change.
Outside of this space is a large family room and a sunroom. When we were thinking about styling, we were unsure how to use the sunroom.
Then it dawned on us – THIS space would make a much nicer work from home room.
So we decided to instead install the double study doors and close off the sunroom. Then for the old second kitchen, we could turn that space into another bedroom.
Here’s what I want to say about the bedroom. Typically, more bedrooms does equal value. However, once you’ve reached 4 bedrooms, in most markets there’s not much more added for additional rooms.
That’s why it hadn’t been a priority before.
However, the sunroom felt like wasted space. This allows us to utilize both spaces much better.
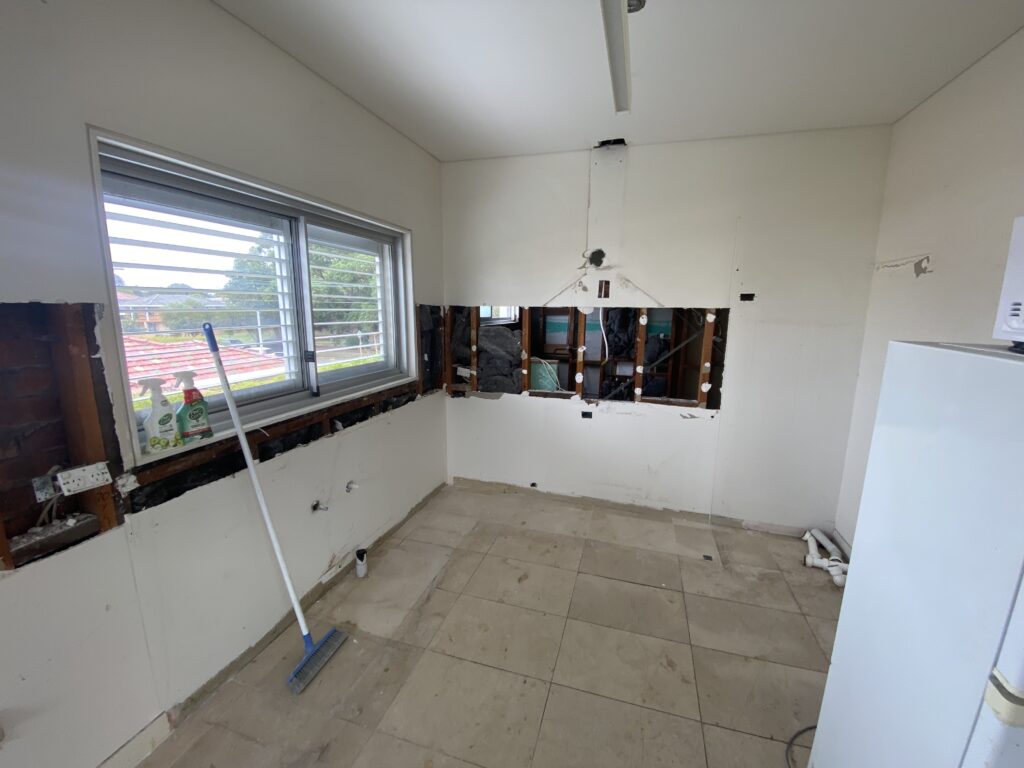
The kitchen took a day to demolish, then a day to move power points down (they were much higher to be above bench tops) and gyprock.

Outdoor Kitchen
The next project to come a long way is the addition of the outdoor kitchen.
This was actually originally a ‘nice to have’ project if we had the money. Thankfully, the budget has been very good and we were able to find room.
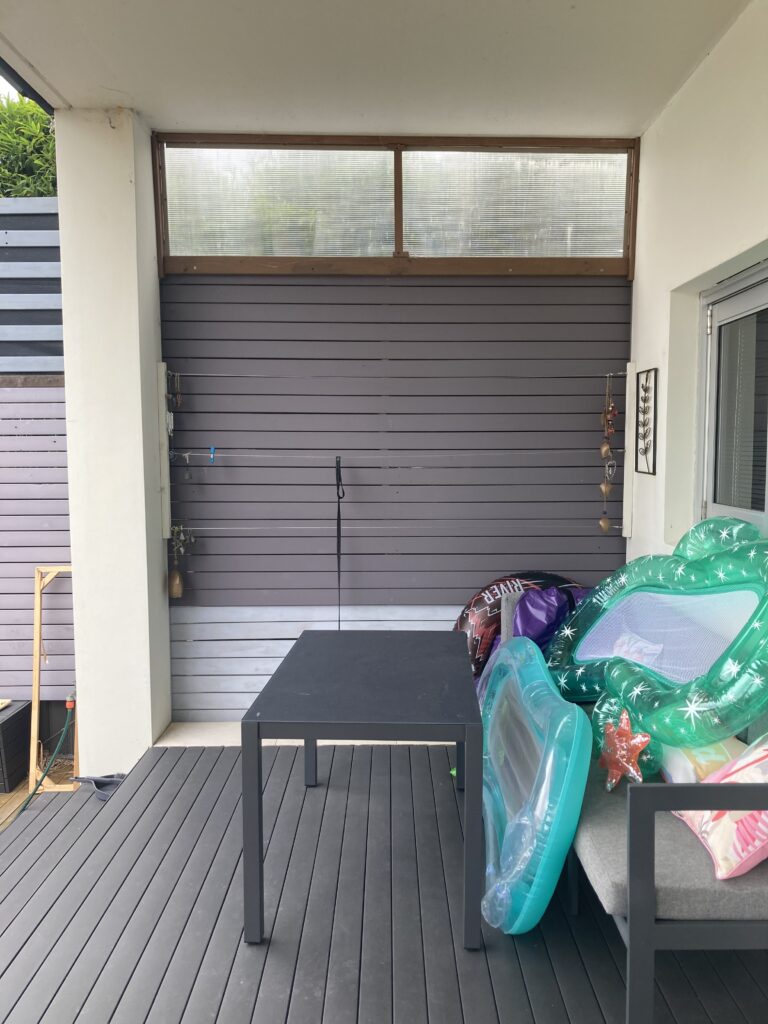
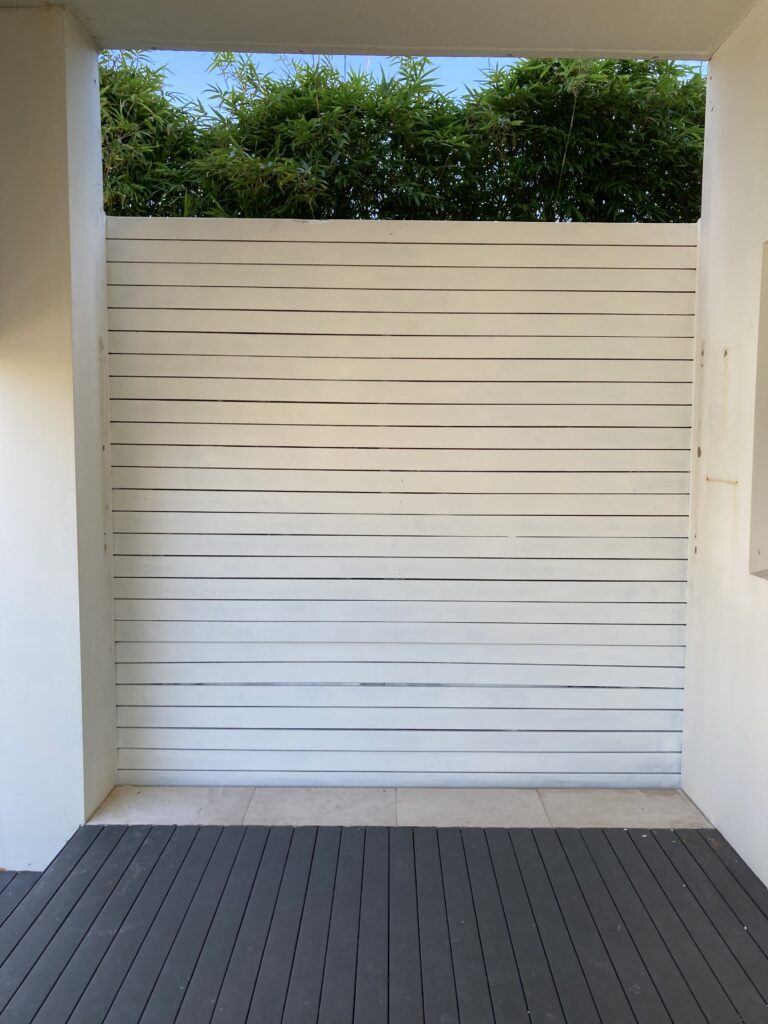
The previous space was set up as a clothesline. Plus, it had mismatched paint and an odd window.
We took the clothesline and window down, then painted the wall white.
Then, we assembled a modular outdoor kitchen from Bunnings and put it into place.
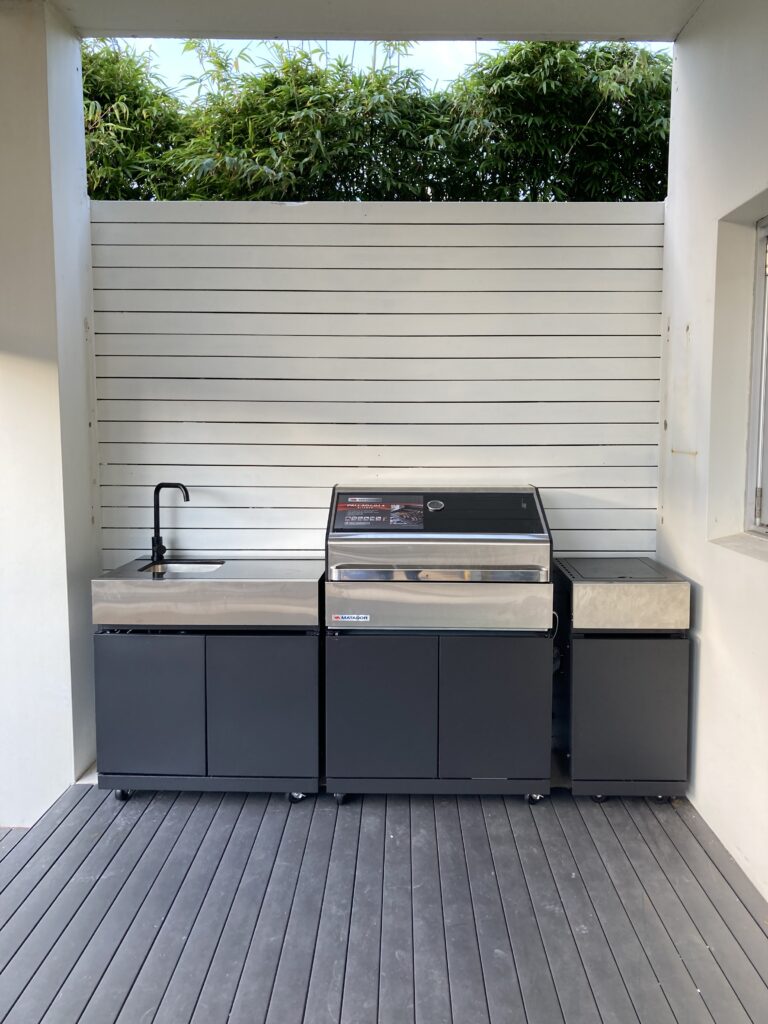
The transformation is quite dramatic! Plus, this is a much better use of space.
Wardrobe
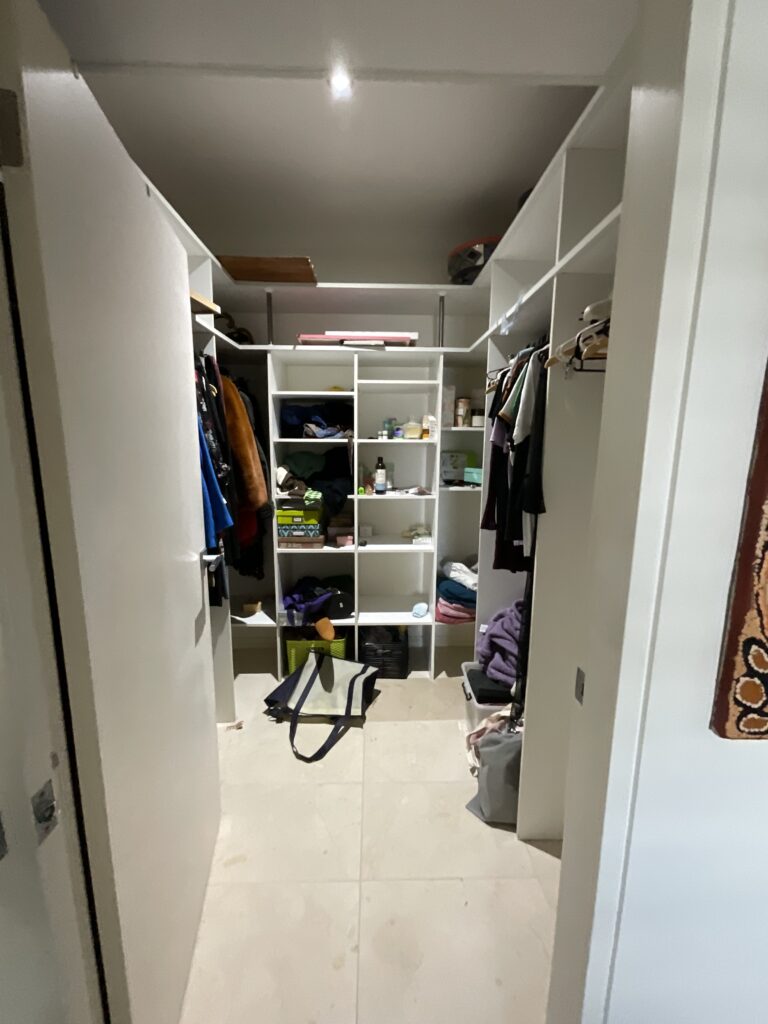
Another project that was added mid-renovation was replacing the wardrobe built ins.
Previously, there were cheap looking cubes that weren’t utilized very well.
We took them out and replaced them with Ikea Pax cabinets designed with better functionality.
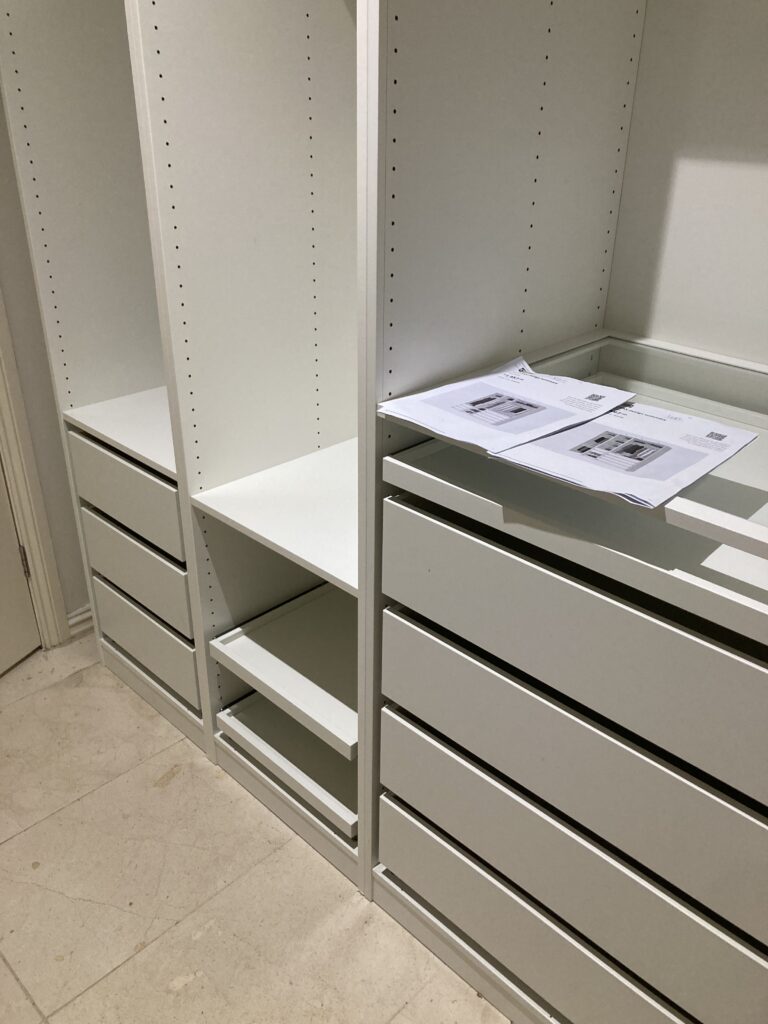
The space needs a little more finishing (& styling) but it’s looking great!
The Under Stairs Cupboard
You may remember that one of the quirkiest features of the pre-renovation was the cupboard under the stairs.
The owner had used this space not only for storage, but also for a bathtub and dryer!
We decided to turn this space into a pantry instead. It’s right off the kitchen and is a much better use of space.
Plus, we were able to take this bathtub and use it for the family bathroom renovation.
Now the space is ready for joinery, which we will install next week.
Other Projects
We’ve also been able to make progress on quite a few other projects.
- Painting the ground floor
- Clearing out personal belongings
- Selling furniture & appliances (from the second kitchen) on Facebook Marketplace
- Locking in the property stylists
Conclusion
The Sandringham renovation is coming along nicely and should be coming to market in about a month. If you want to see daily progress updates, follow along on my Instagram.