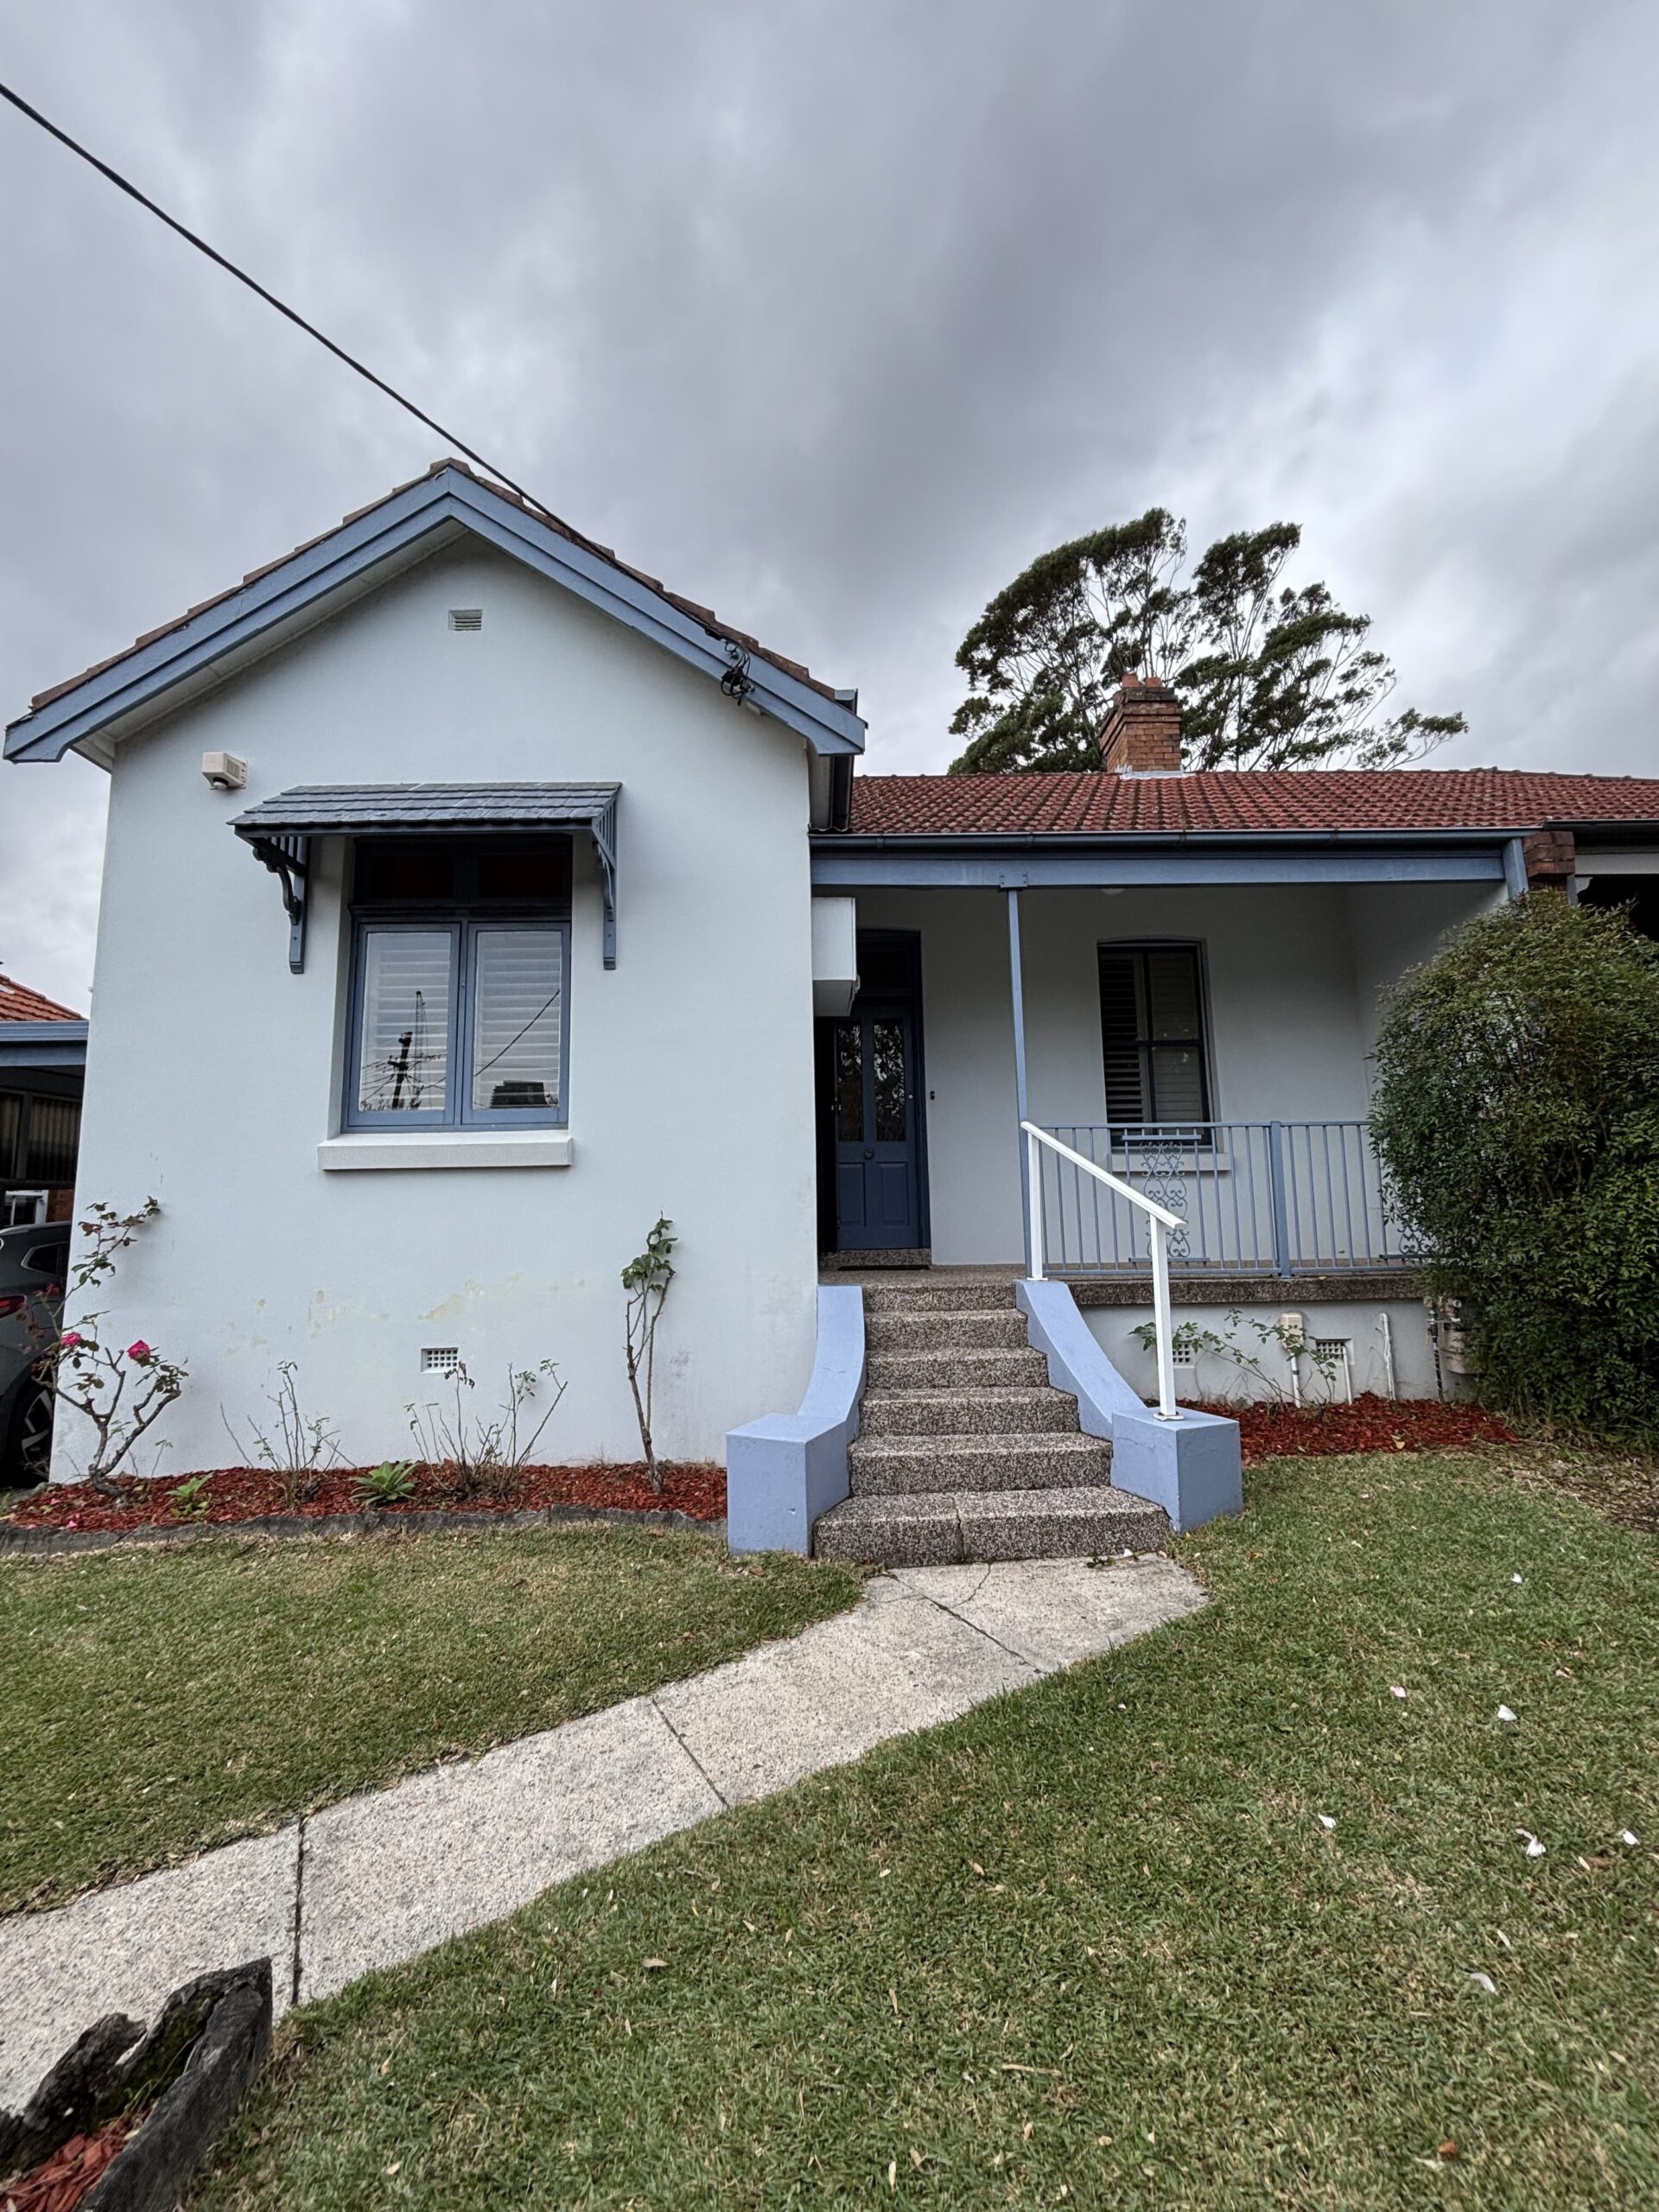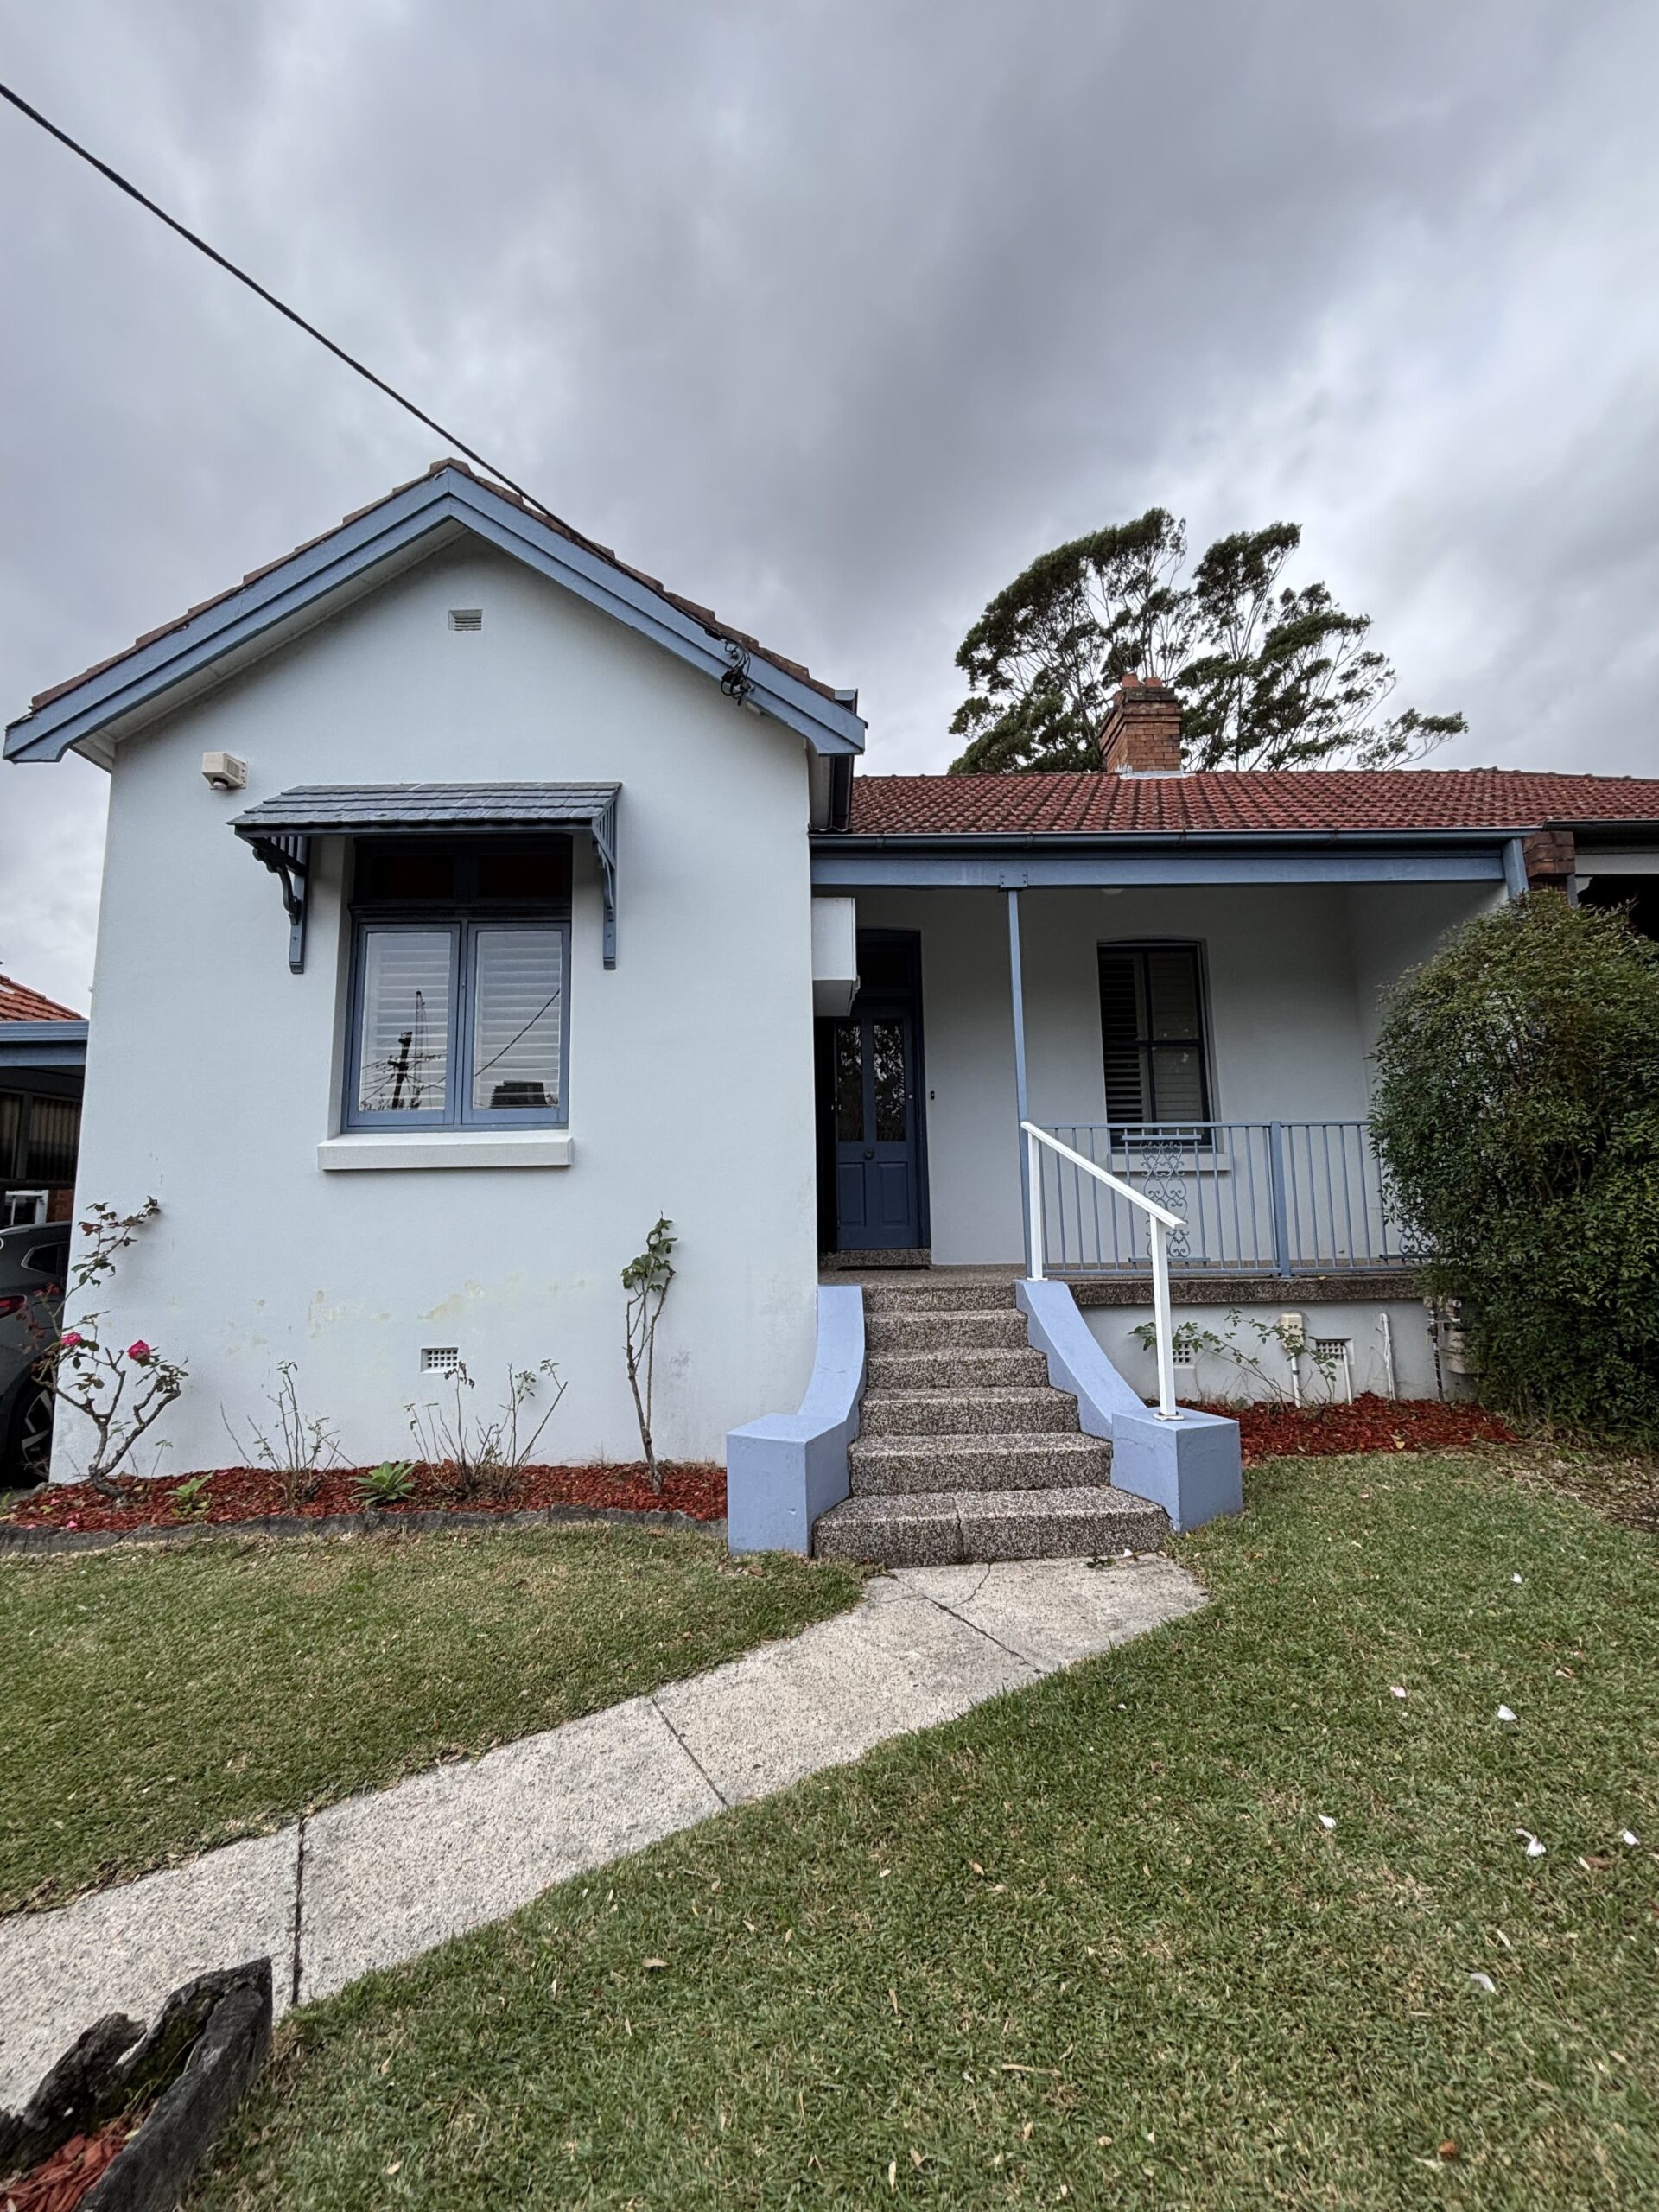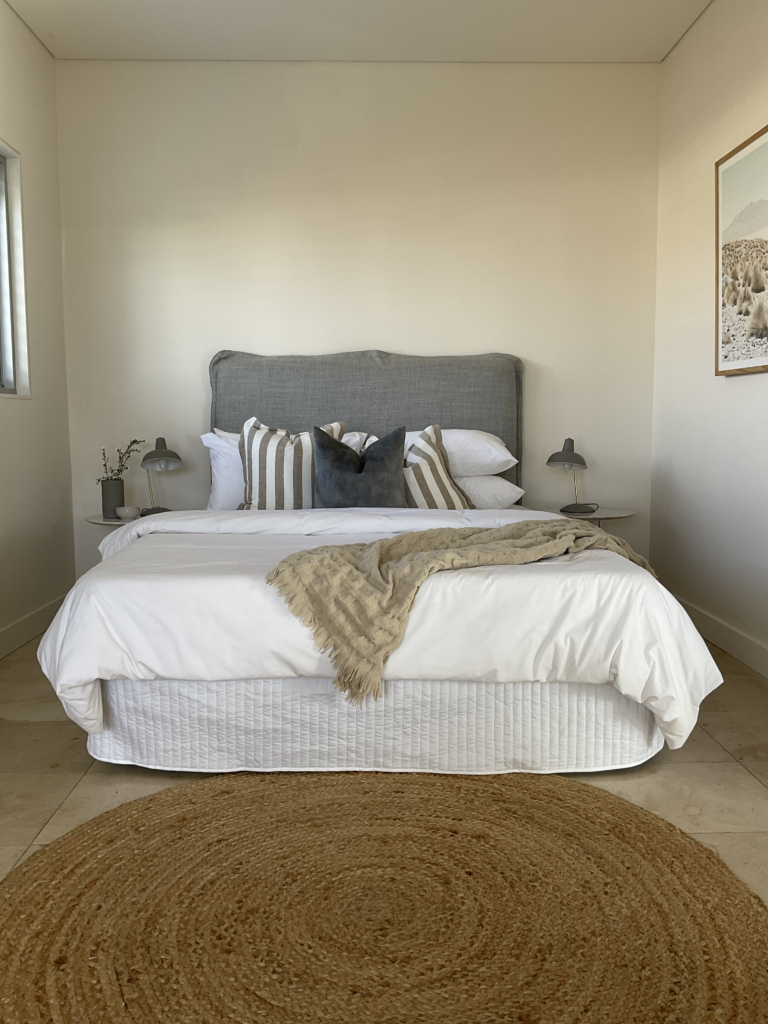
We added a 5th bedroom in the Sandringham renovation – which was actually a somewhat last minute add.
In this post, I’ll be sharing all the behind the scenes of how this bedroom came about including what was in this space before (you might be surprised!) and the after.
If you want to check out more posts on the Sandringham project, you can see the full before here, a mid-renovation update, the full completed project, details on the bathroom and the study.
Before the Bedroom Renovation
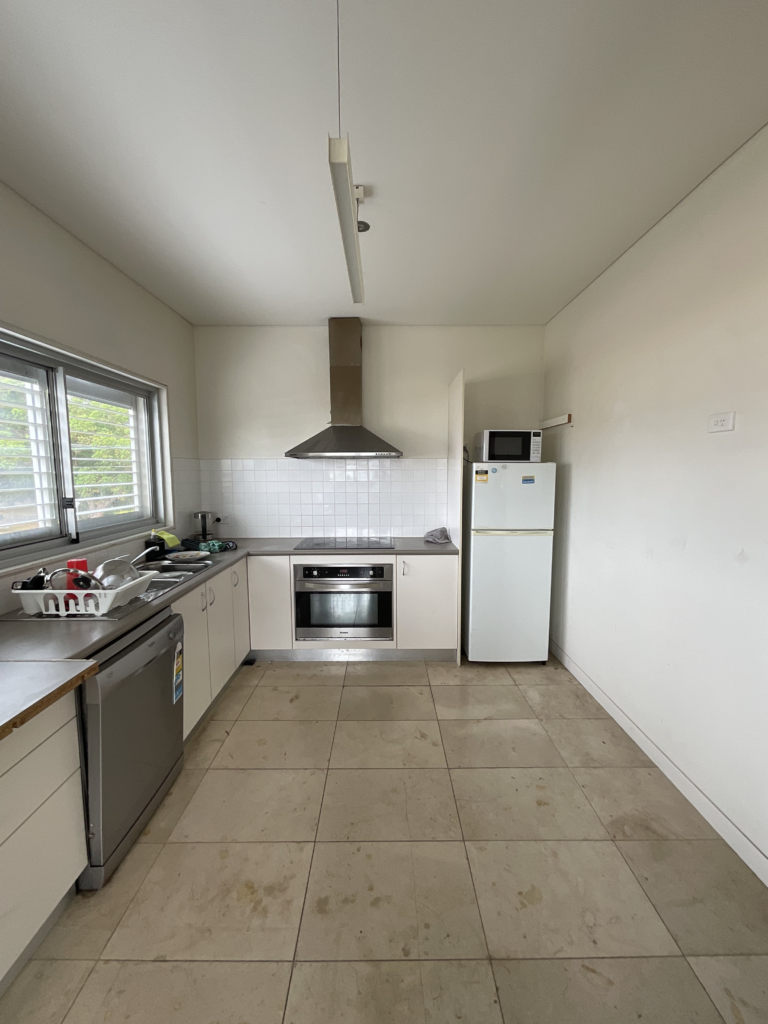
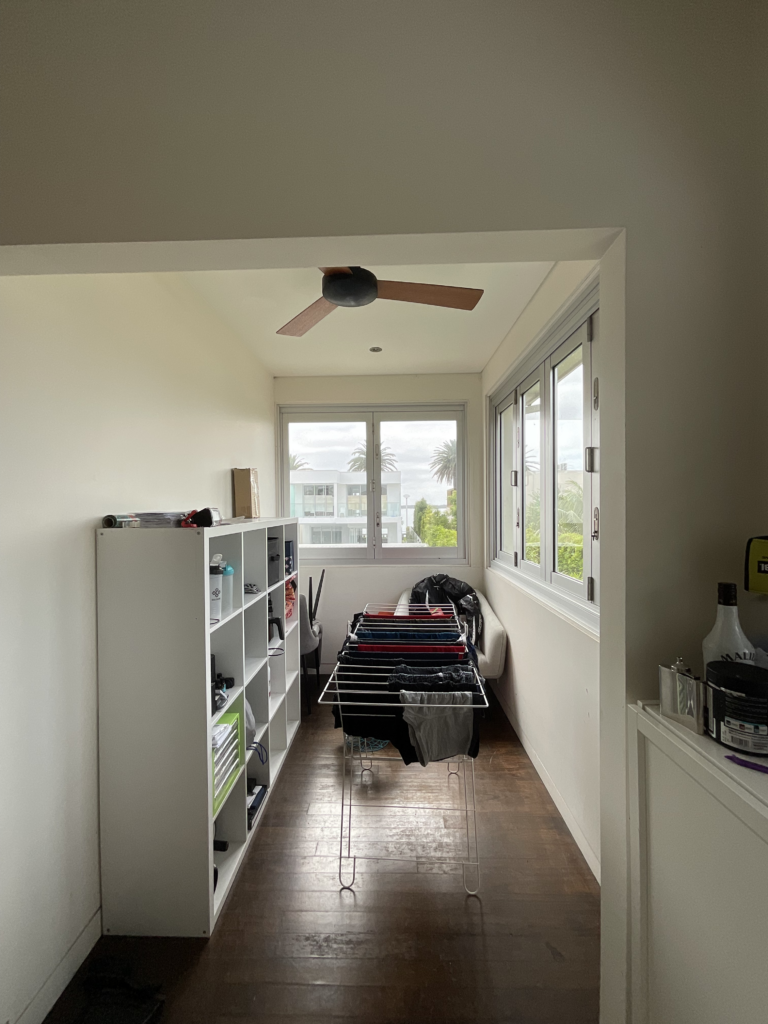
The space was previously the kitchen for the studio space and the sunroom sitting area was used mainly for storage.
Why didn’t we keep the kitchen?
It wasn’t in great condition. The cabinets would have needed repairs, the benchtop replaced and a new oven (that we knew).
When looking at the costs for basic updates, it would have cost the same to transform the space into a study (or a study AND a bedroom, which is what we ended up doing).
Since the home already had a well functioning kitchen downstairs, it felt unnecessary to have an upstairs kitchen.
As I briefly mentioned, the original plan was to turn this space into a study which included adding doors to the opening between the former kitchen and upstairs family room to make it a contained, private space. You can read more about the study here.
During the Renovation
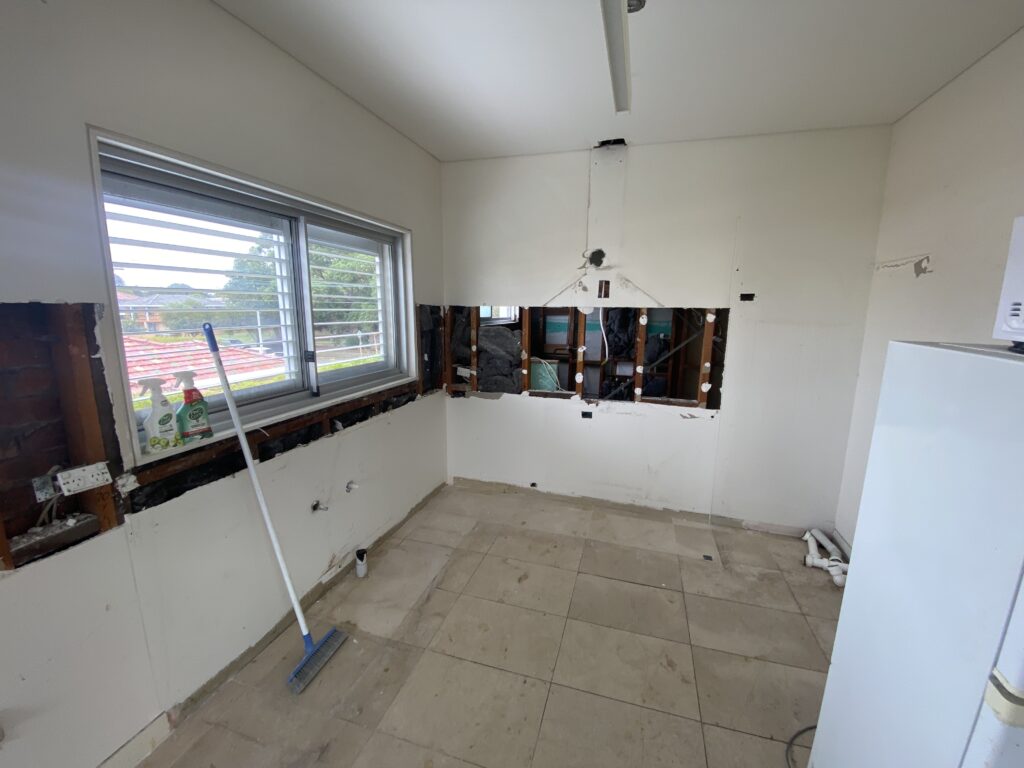
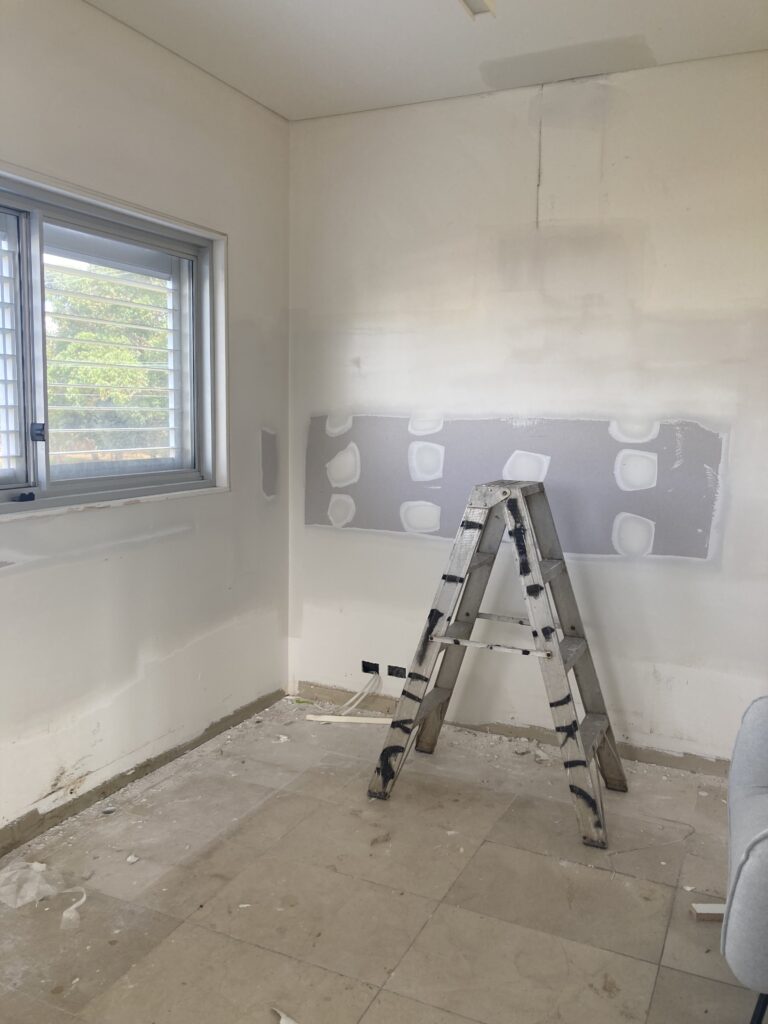
The kitchen was demolished including all cabinetry and appliances. The walls were opened up (the new bathroom was on the other side) and re-gyprocked. The plumbing was capped off.
Turning this space into a bedroom sounds easy, but there are lots of details. Such as lowering power points, adjusting the lighting (we removed a light fixture and replaced downlights) and adding skirting.
Shortly after demolition, we made the decision to instead use the sunroom as the study (relocating the double glass doors there) and then using this space as a 5th bedroom. With the empty space, we saw how large it was and with an under utilised sunroom, this maximised the use of all spaces.
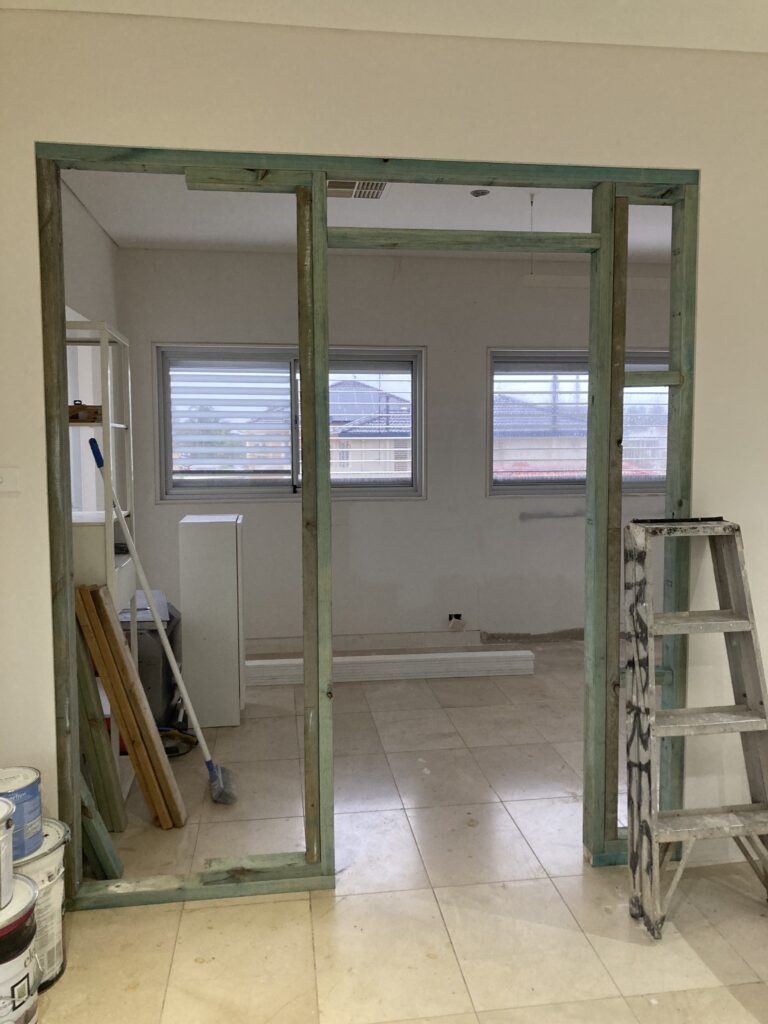
We still closed in the doorway between the family room and new bedroom, but for just one door for privacy.
Choosing the location for the door was an important decision. Some people may have chosen to simply center the door in the opening and call it a day.
However, we considered that the new owners may want to install wardrobe joinery or put a piece of furniture on one side so we measured out space to the left of the door while also making sure we had room on the right to allow for a bed. (We used measurements for an Ikea PAX system)
In the sitting area, we refinished the timber floors. All walls received a fresh coat of paint (Dulux Antique White USA).
After the Bedroom Renovation
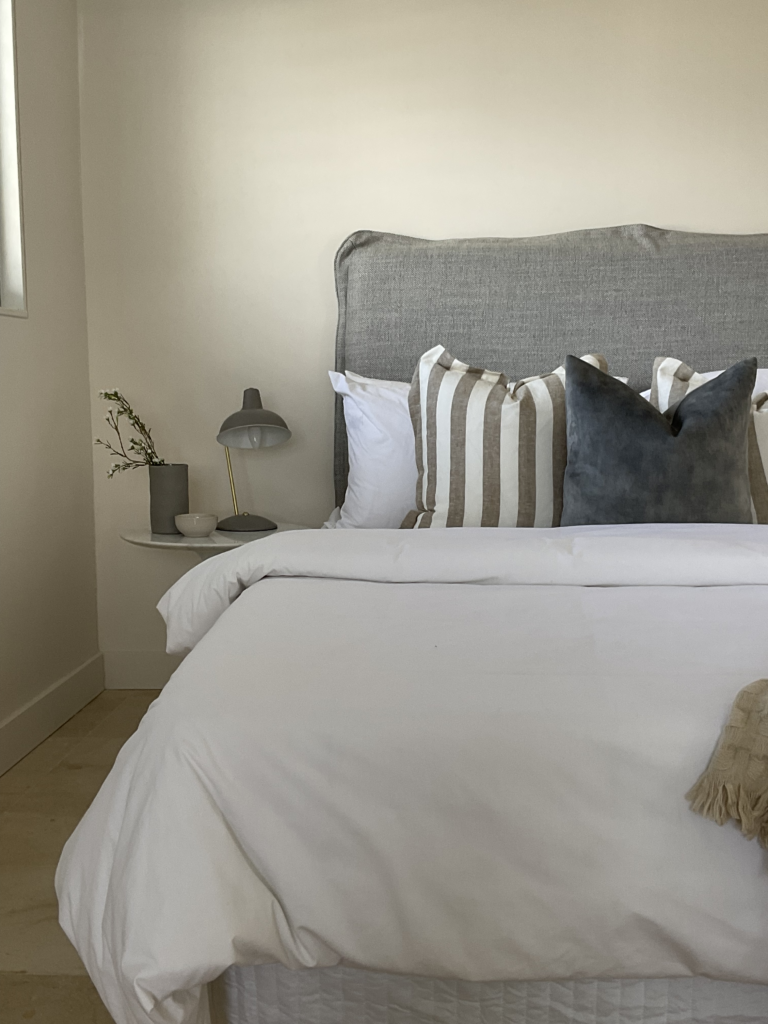
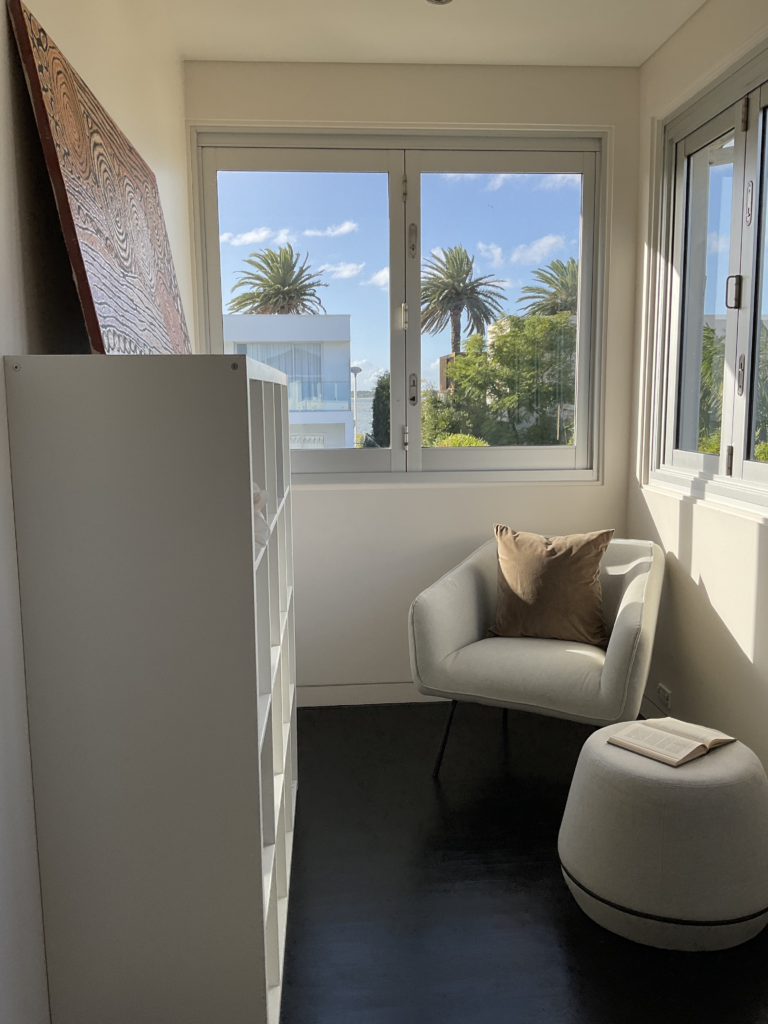
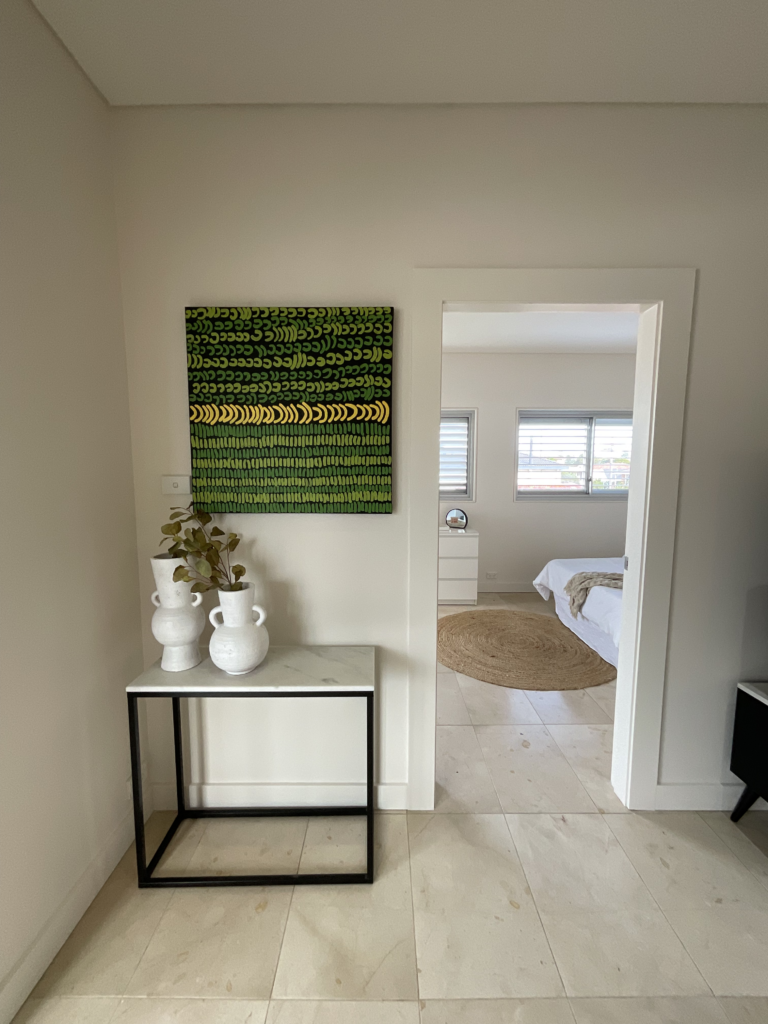
The space came a long way from a kitchen that desperately needed repairs to now an extra bedroom for this large family home.
I love how large this space is – not only room for a bed but also a dresser, perhaps a desk, a sunlit sitting area (with views of Botany Bay!) and potentially a wardrobe.
It also has a fantastic location in the house. Just outside the bedroom is a family room, with the study off to one side and just down the hall is the new family bathroom. I could see this being an awesome teenager’s room or private guest room.
The styling is through Spatial Property Styling.
Conclusion
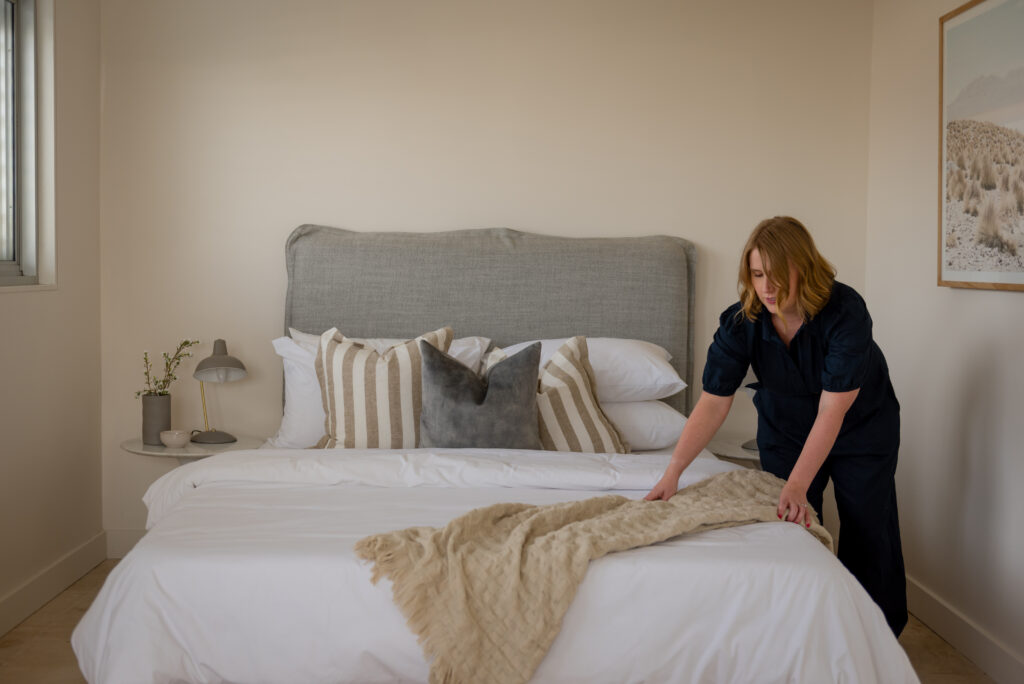
While this is a renovation that may look simple, you can see there’s actually quite a bit of work and a lot of thought that went into it. I’m very proud of how this space transformed. Now it has a much better use for the new family who buys this home!
Update: the home sold in June 2024 for $3.42 million.
And if you’re a homeowner in Sydney thinking about selling and wondering if renovations like this would increase the value of your home, I offer consultations.
